
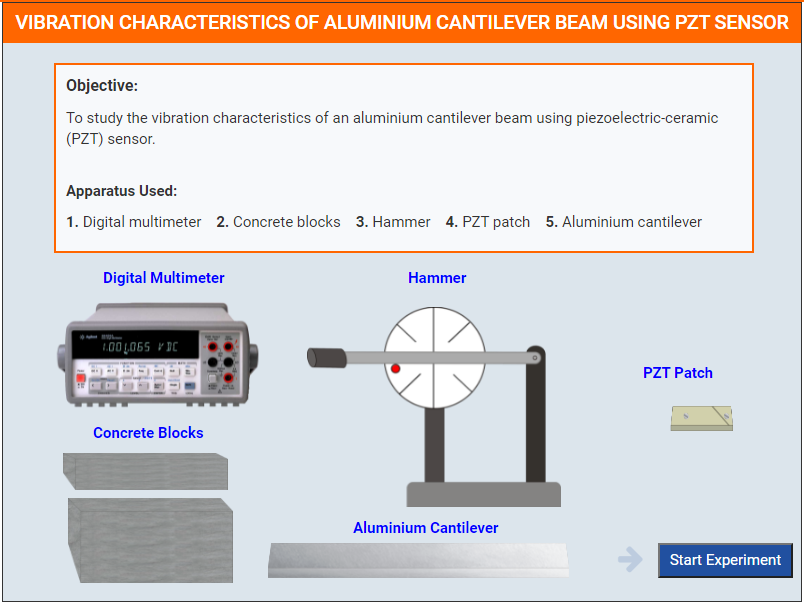
Vibration Characteristics of Aluminium Cantilever Beam Using Piezoelectric Sensor
These steps will be followed for the experiment
Preparation of specimens:
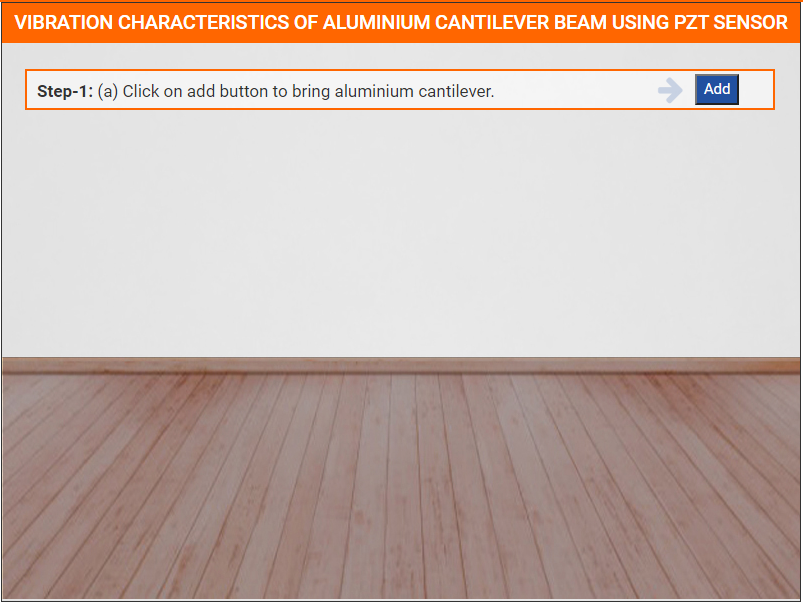
- Click on start experiment button to start the experiment.
Step-1: (a) Click on add button to bring aluminium cantilever.
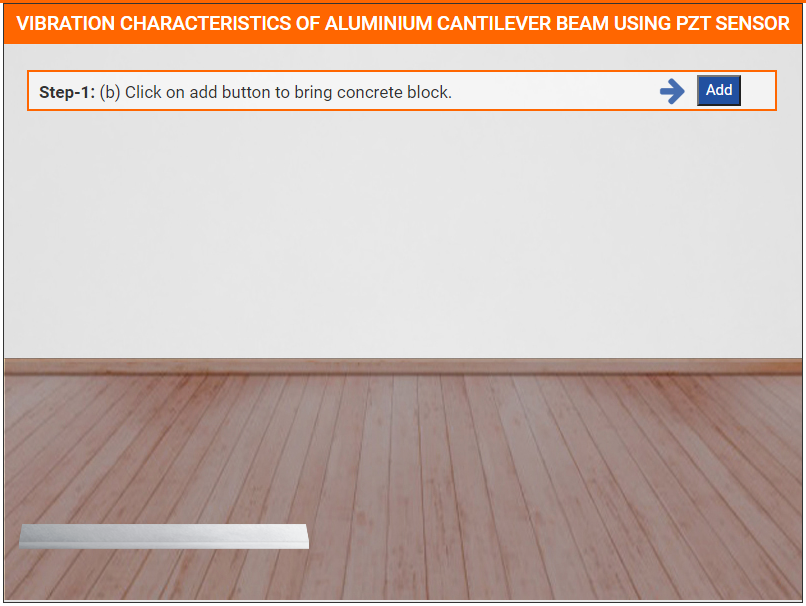
Step-1: (b) Click on add button to bring concrete block.
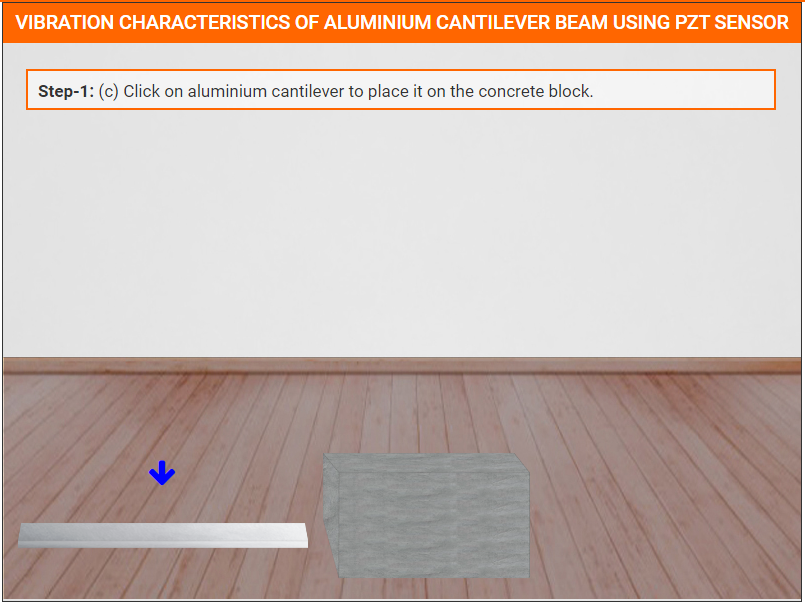
Step-1: (c) Click on aluminium cantilever to place it on the concrete block.
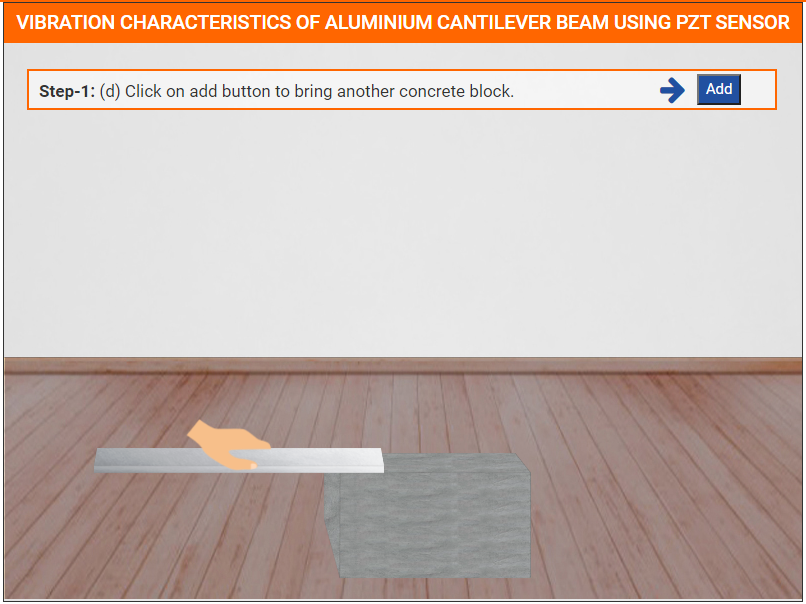
Step-1: (d) Click on add button to bring another concrete block.
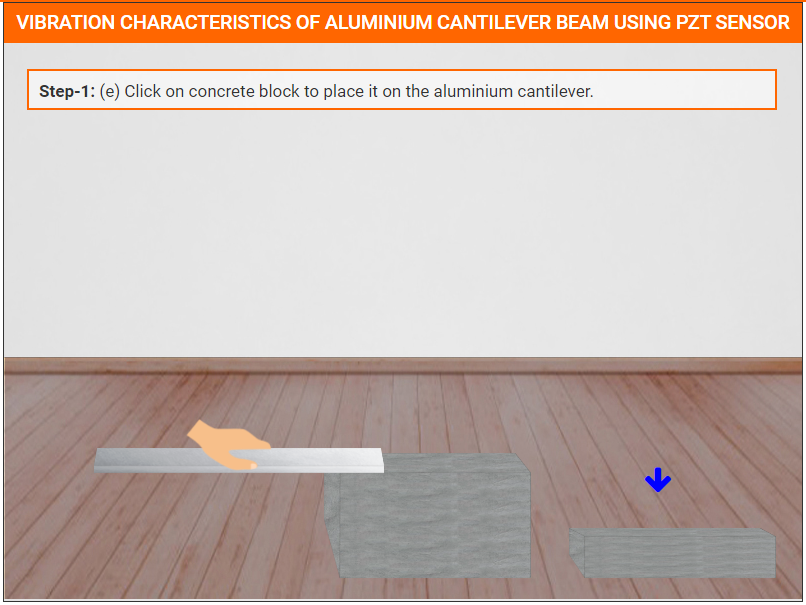
Step-1: (e) Click on concrete block to place it on the aluminium cantilever.
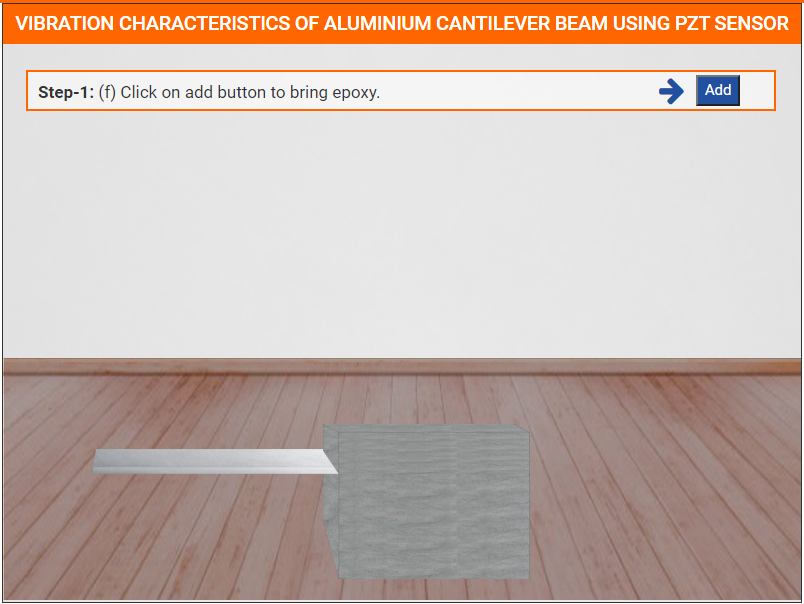
Step-1: (f) Click on add button to bring epoxy.
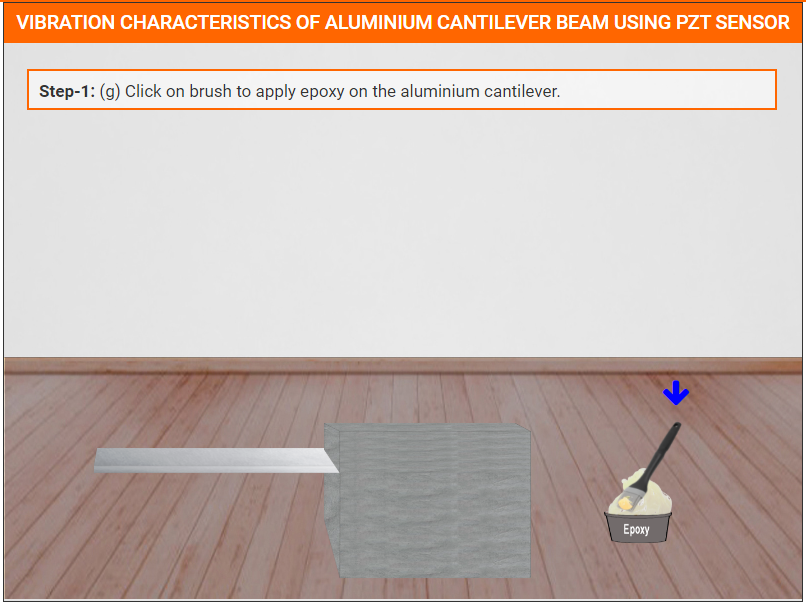
Step-1: (g) Click on brush to apply epoxy on the aluminium cantilever.
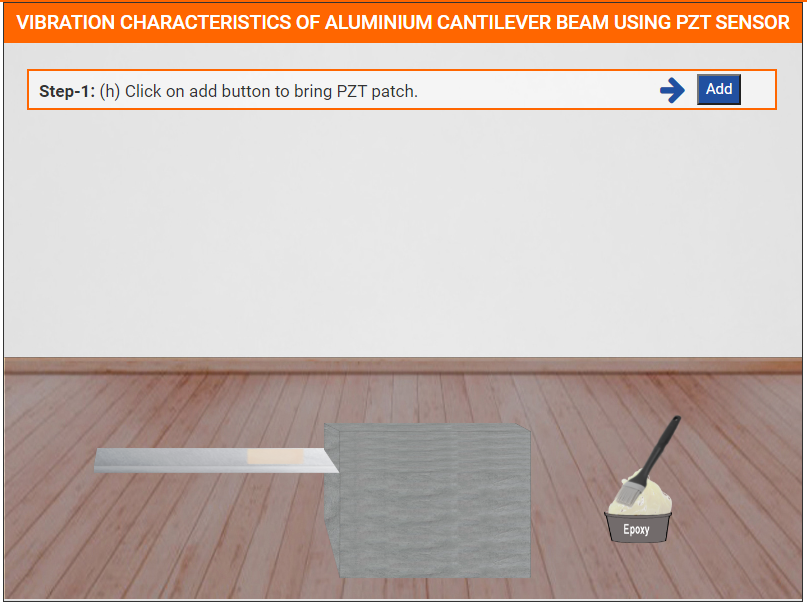
Step-1: (h) Click on add button to bring PZT patch.
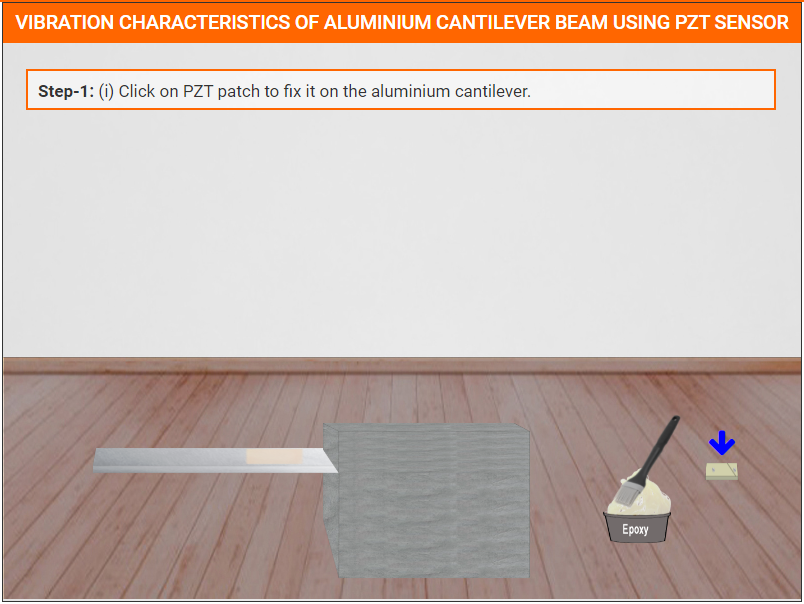
Step-1: (i) Click on PZT patch to fix it on the aluminium cantilever.
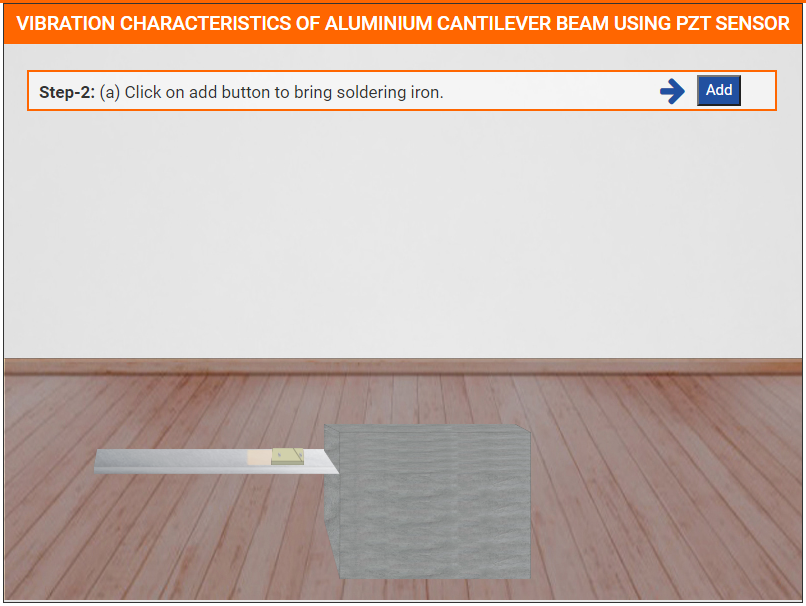
Step-2: (a) Click on add button to bring soldering iron.
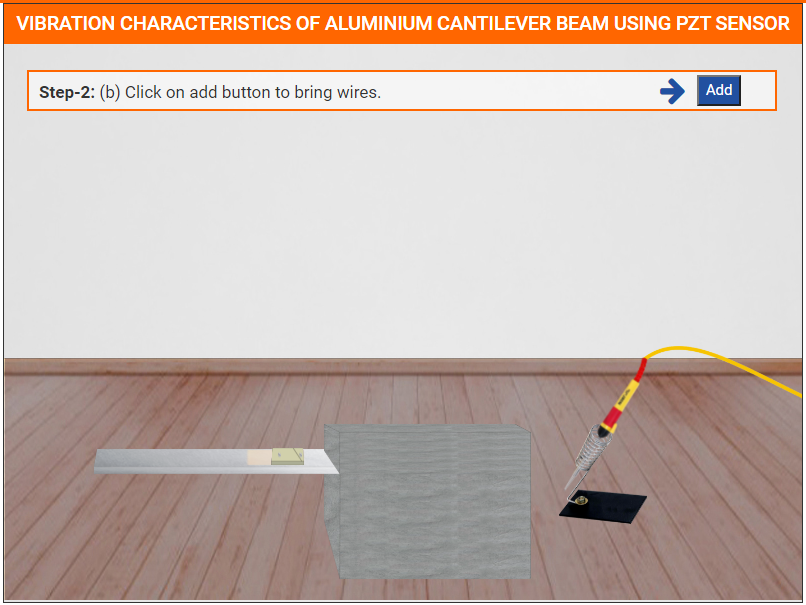
Step-2: (b) Click on add button to bring wires.
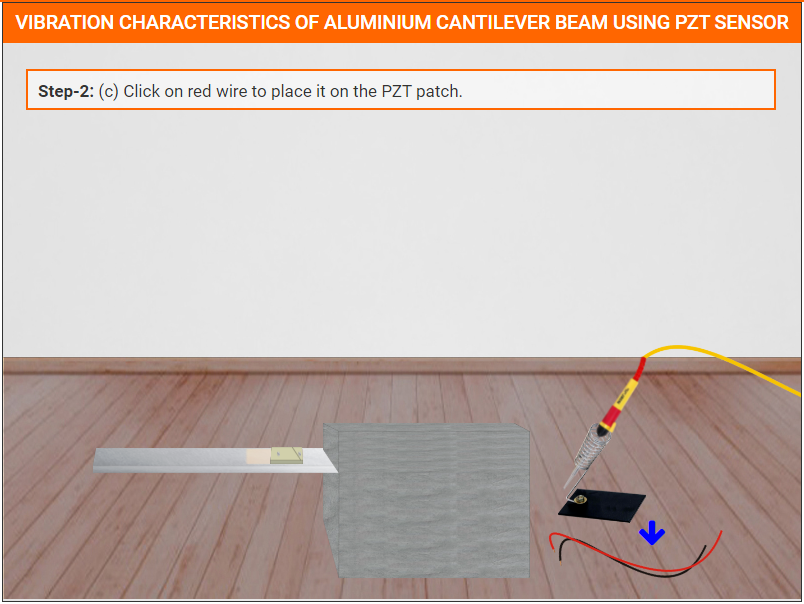
Step-2: (c) Click on red wire to place it on the PZT patch.
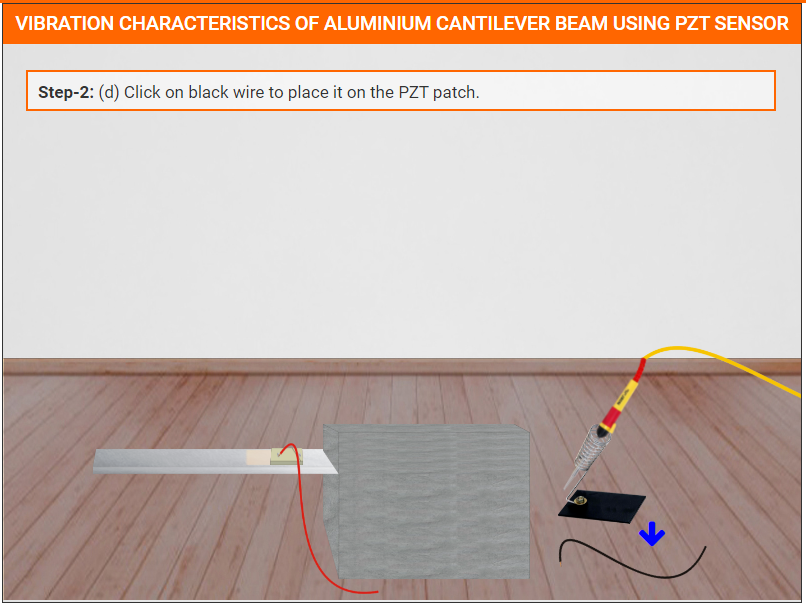
Step-2: (d) Click on black wire to place it on the PZT patch.
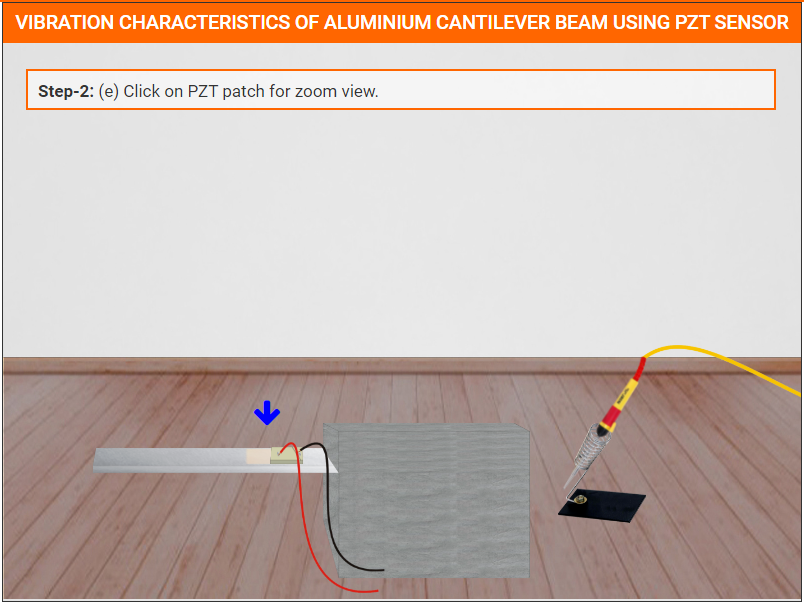
Step-2: (e) Click on PZT patch for zoom view.
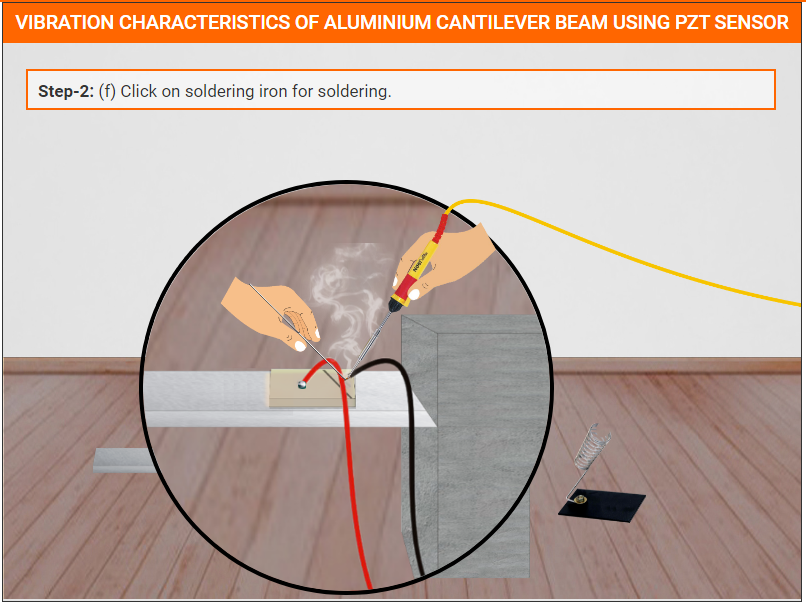
Step-2: (f) Click on soldering iron for soldering.
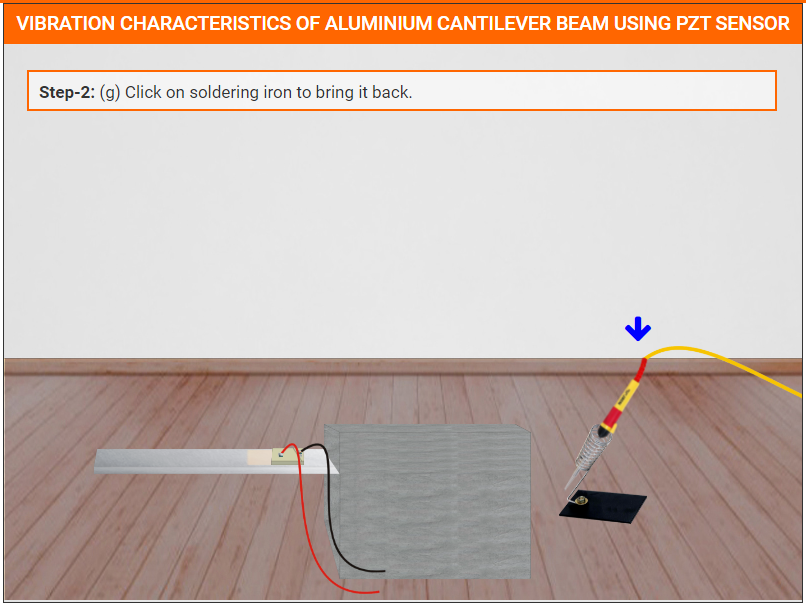
Step-2: (g) Click on soldering iron to bring it back.
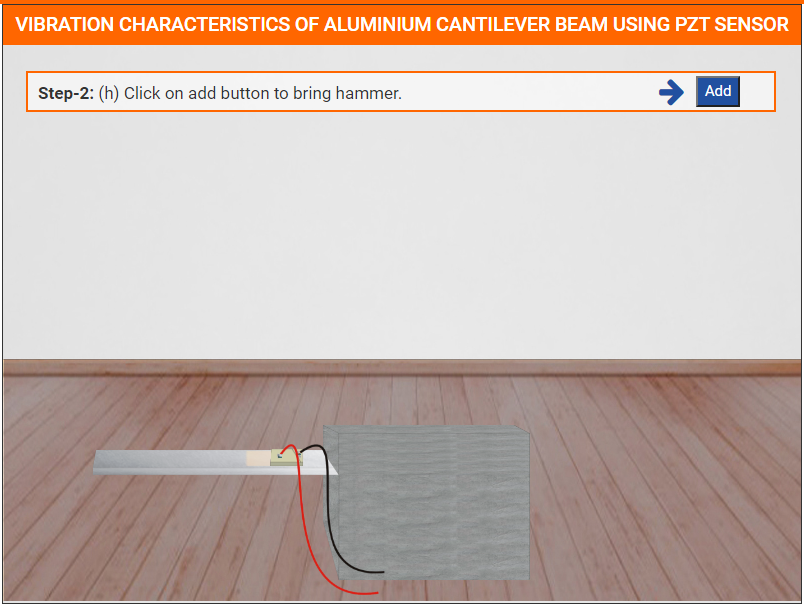
Step-2: (h) Click on add button to bring hammer.
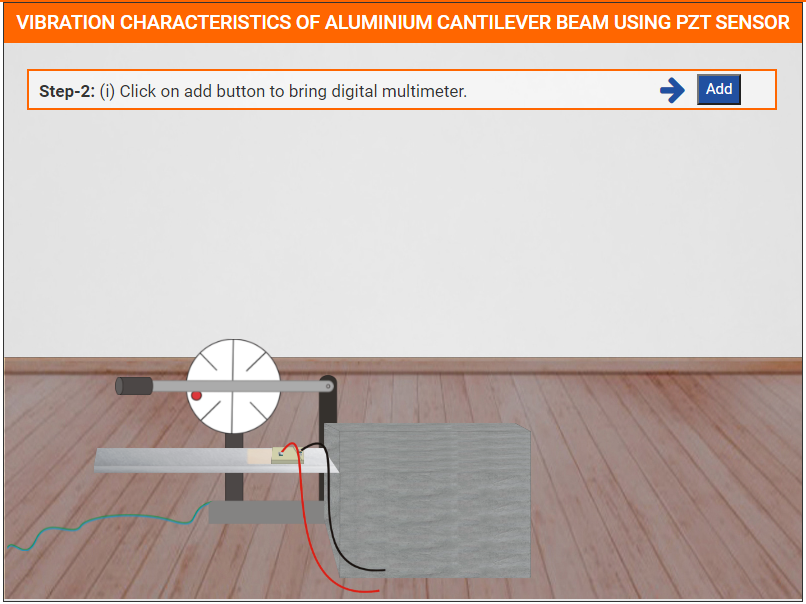
Step-2: (i) Click on add button to bring digital multimeter.
Step-2: (j) Click on black clip to attach wire with PZT wire.

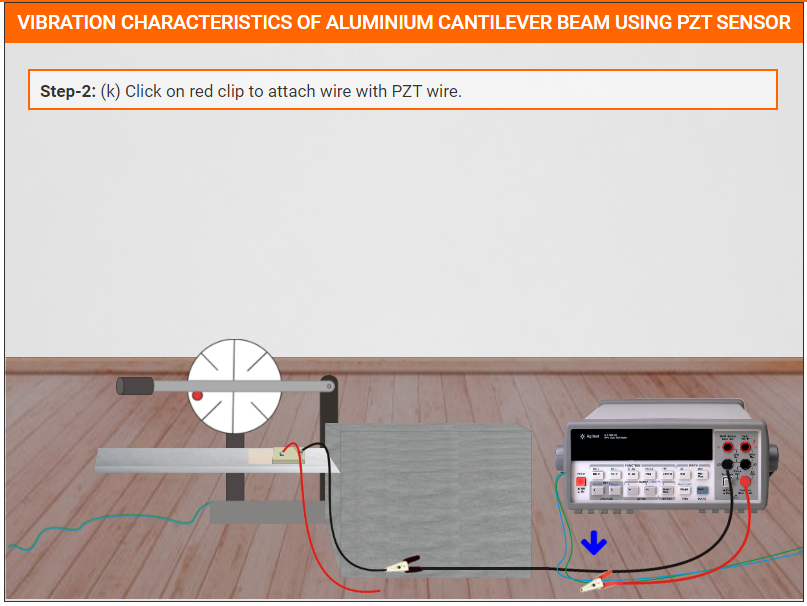
Step-2: (k) Click on red clip to attach wire with PZT wire.
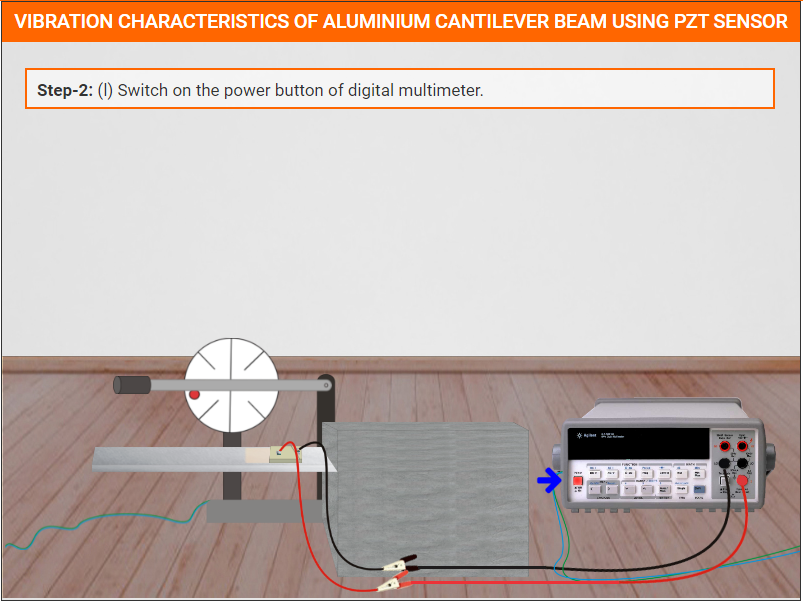
Step-2: (l) Switch on the power button of digital multimeter.
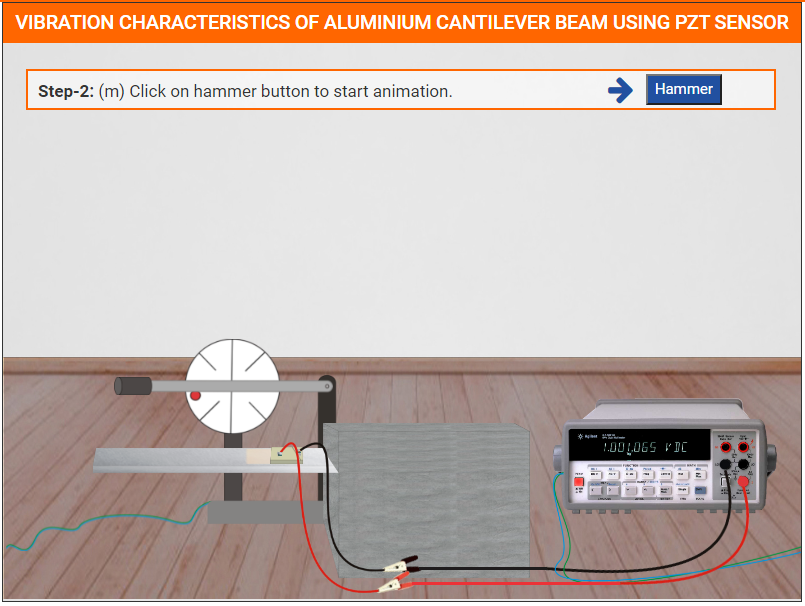
Step-2: (m) Click on hammer button to start animation.
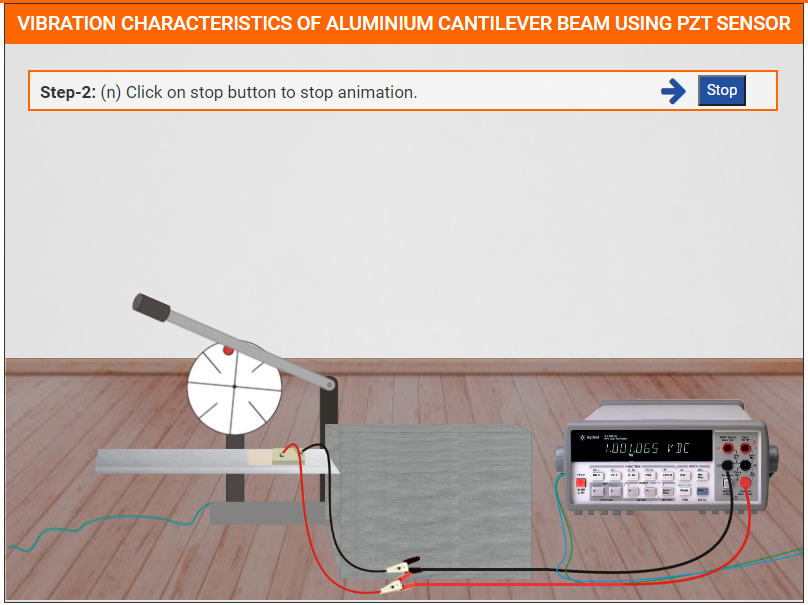
Step-2: (n) Click on stop button to stop animation.
Step-3: Click on download data button.

Step-4: Calculate the natural frequency theoretically
Thank you for performing the experiment